
How to setup your Mac to build Single Page Applications with AngularJS and Neo4J
Setting up the environment
In this section I will list all the steps that I had to go through to get my Mac ready for coding with the stack I picked. Hopefully this will be a useful timesaver for anyone who decided to do the same. If you found this page first, you won't have to do any research. Just follow my footsteps and within minutes (not including the hefty download of Apple's Xcode) you will be up and running, ready for action :)
Setting up Localhost
I still use OS X 10.7 (Lion), therefore this might not be applicable to your environment if you are using a newer version of OS X. First, I deleted the ~/Sites folder inside my personal folder, then I created a linked folder with the same name pointing to the /Library/WebServer/Documents folder using the following command from Terminal:
sudo ln -s ~/Sites /Library/WebServer/DocumentsThis way, when you type http://localhost in your browser window, it will point to the content of your ~/Sites folder.
Installing Developer Tools for Mac
You will need to install Developer Tools for Mac which you are installed as part of Xcode. Xcode is available for free - quite a huge download, but you'll need it.
Installing Homebrew
In order to setup the entire stack we are going to use, you would have to install several packages manually, a very tedious work that I much rather skip. Alternatively, all you need to do is to install Homebrew, a very useful package manager for OS X. To install Homebrew, simply copy and paste the following line in your Terminal window:
ruby -e "$(curl -fsSL https://raw.github.com/Homebrew/homebrew/go/install)"Homebrew installs packages to their own directory and then symlinks their files into /usr/local.
Installing Node.js
Once Homebrew is installed you can go ahead and install Node.js
brew install nodeEasy, right? Next, let's verify that Node.js is working properly. Inside your ~/Sites folder, create a hello-node.js file and copy the following content in it:
var http = require('http');
http.createServer(function (req, res) {
    res.writeHead(200, {'Content-Type': 'text/plain'});
    res.end('Hello Node.js\n');
}).listen(8124, "127.0.0.1");
console.log('Server running at http://127.0.0.1:8124/');
Next, run this code from the command line with:
cd ~/Sites
node hello-node.js
You should see the following message in the Terminal window:
Server running at http://127.0.0.1:8124/Next, navigate to http://127.0.0.1:8124/ in your browser, you should see the message "Hello Node.js".
Installing npm
npm is Node's package manager. It is now installed automatically with Node.js so there is no need to do a separate installation.
Installing Express.js
With Node.js and npm already installed, including Express in a web application is just a matter of indicating the dependency on Express within your application package.json file.
Within your application folder (i.e. ~/Sites/HelloWorld), create a file named package.json as follows:
{
    "name": "hello-world",
    "description": "hello world test app",
    "version": "0.0.1",
    "private": true,
    "dependencies": {
        "express": "3.x"
    }
}
Now that you have your application dependencies defined, use npm to install them all:
npm installOnce npm finishes, you'll have a localized Express 3.x dependency in the ./node_modules directory. You may verify this with
npm ls which will display a tree with all the application dependencies, in this case just Express and its own dependencies.
To test Express.js I suggest going through the exercise explained here in the Getting Started section, all the way at the beginning of the guide.
Installing Neo4J
Using Homebrew, to install the latest stable version of Neo4j Server, issue the following command
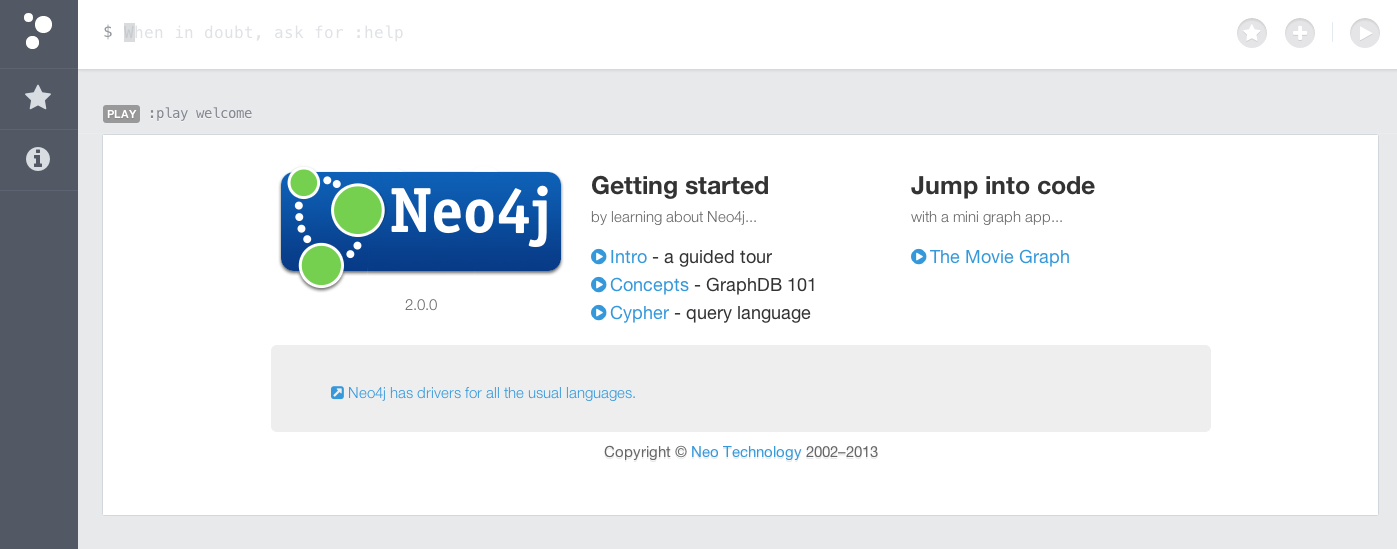
brew install neo4jOnce the installation has completed, you can start Neo4J from the command line with:
neo4j startThis will get a Neo4j instance running on http://localhost:7474. Simply navigate to that URL with your browser to access the database browser utility, which includes some tutorials as well:
Application Organization
When building a Single Page Application with AngularJS, we are going to be building essentially two pieces:
- The client, with all the JavaScript, HTML, CSS and various asset files needed for the front-end side of the application to run on the client machine's browser.
- The server, with all the JavaScript files required to run the web server on top of Express/Node.js, which will serve the client application requests (GETs, POSTs, PUTs, etc.), connecting the client to the Neo4J persistence layer.
While developing, your machine will play both the client and the server roles, with:
- the web server running locally on localhost at a specified port (traditionally at port 3000),
- the database running locally on localhost at port 7474
- the client application running locally on localhost at port 80
After having read many articles, blog posts and questions on Stackoverflow on how to organize all these files, let me show you the structure that I have adopted, inspired by https://github.com/angular-app/angular-app and by http://briantford.com/blog/huuuuuge-angular-apps.html.
At the top level, I subdivided the application into its two main components, client and server. I have also added a *client-tests** folder which I had planned to use for unit testing. Shame on me, I haven't really used it. Maybe next time around :(*
Inside the client folder I structured the application as follows (folders in bold, files in italic):
-
client
-
assets
- images
-
scripts
- controllers
- directives
- filters
- services
- vendor
- app.js
- styles
- views
- index.html
-
assets
On the server side of the application, this is the internal folder structure (folders in bold, files in italic):
-
server
- node_modules (created by npm)
- routes
- package.json
- server.js
In the end, there is no right way to do this. Everyone has their way, some like to group files by type (all controllers together, all directives together, etc.), some like to group them by functionality. There are pro and cons to both approaches, so feel free to pick the one that makes more sense to you. You will always be able to move things around later, if you find yourself limited by your structure.
Congratulations!
You are all set, ready for action! I hope you have found this post useful. It took me a while to gather all the information I needed to get to this point. I hope that this summary will help you save some time and be able to get to the fun part sooner :)
Some Optional Goodies
If, like me, you decided to use Sublime Text (either version 2 or 3), if you haven't done so yet, you might want to install Sublime Package Control. The installation is simple and takes just a few seconds. Go to the installation page and copy the correct script for your version of Sublime Text in the Sublime Text console.
Once that's installed, simply open the Command Palette (cmd+shift+p),
select "Install Package" and then select "Cypher". This will install Sublime Cypher, syntax highlighting for Neo4j's Cypher query language in Sublime Text. You will want to name your cypher files with the .cql extension so that the syntax highlighter will recognize them.
Within Sublime Text's Package Installer you will also be able to find the AngularJS package, which you may want to install as well.
Neo4J Newbie Tip: How to reset your database
If you are like me, especially during your learning phase of development with Neo4J, you will find yourself building some basic graphs "by hand" as starting point and then running cypher queries that will, sooner or later, mess up your graph.
At that point you have two options:
- manually fix the parts of the graph that were affected to go back to a good state to continue development
- reset your database to an initial well known state
I have done #1 and got bored pretty quickly with that. Finally I figured out the best way to do #2.
First, write a .cql script which builds the "well known state" that you want to be able to go back to. It might me just a few nodes and relationships or a much more complex structure. Whatever it is, the entire script should look a bit like the following:
START n = node(*)
MATCH n-[r]-()
DELETE n, r
WITH COUNT(n) AS hack
CREATE
(Neo:Crew { name:'Neo' }),
(Morpheus:Crew { name: 'Morpheus' }),
(Trinity:Crew { name: 'Trinity' }),
(Cypher:Crew:Matrix { name: 'Cypher' }),
(Smith:Matrix { name: 'Agent Smith' }),
(Architect:Matrix { name:'The Architect' }),
(Neo)-[:KNOWS]->(Morpheus),
(Neo)-[:LOVES]->(Trinity),
(Morpheus)-[:KNOWS]->(Trinity),
(Morpheus)-[:KNOWS]->(Cypher),
(Cypher)-[:KNOWS]->(Smith),
(Smith)-[:CODED_BY]->(Architect)
The first few lines of the script kill all nodes and relationships from the database. Next comes the long CREATE command, which rebuilds the "well known state" that needs to be recovered.
The only caveat with doing this is that the database will still be the same. This means, for example, that node IDs will keep increasing every time you re-run the above script. If you want to really reset your database, just switch to the Terminal and run the following before you run the cypher script above:
cd /usr/local/Cellar/neo4j/2.0.0/libexec/data
neo4j stop
rm -rf graph.db/
neo4j start
This will stop the database server, completely remove the data folder it relies on, and then restart the server, which will reinitialize itself and create a new data folder with the same name at the same exact location.
Note
I believe that having these "reset scripts" handy will become very useful when you find yourself working on multiple projects at the same time. Sure you could have multiple Neo4J servers running on your machine, one for every project you work on, but I feel that after a while it might become unfeasible to do so. So when you switch project development all you have to do is remove your DB data folder as shown above, and then run your project cypher reset script.
Written by Francesco Gallarotti
Related protips
2 Responses

homebrew is suggesting to change the link to ruby -e "$(curl -fsSL https://raw.githubusercontent.com/Homebrew/install/master/install)"
Thanks it was pretty informative to get started with the installation.
Regards,
Nawab

