
Create simple OAuth Vue Component with Oauth.i

Who doesn’t want to focus on creating product over dealing with OAuth logic in the code? Reduce the OAuth footprint in your code to a single request!
In this post, we will create a simple OAuth component in Vuejs with Oauth.io, the OAuth market player with over 100 providers! and easier use with 5 line

Setup OAuth.io User
Register yourself at Oauth.io, it’s free!

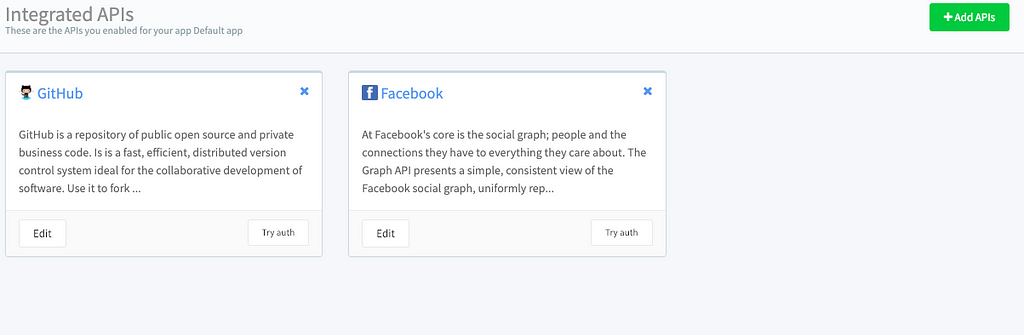
Upon login, you’ll get to the dashboard as shown below.
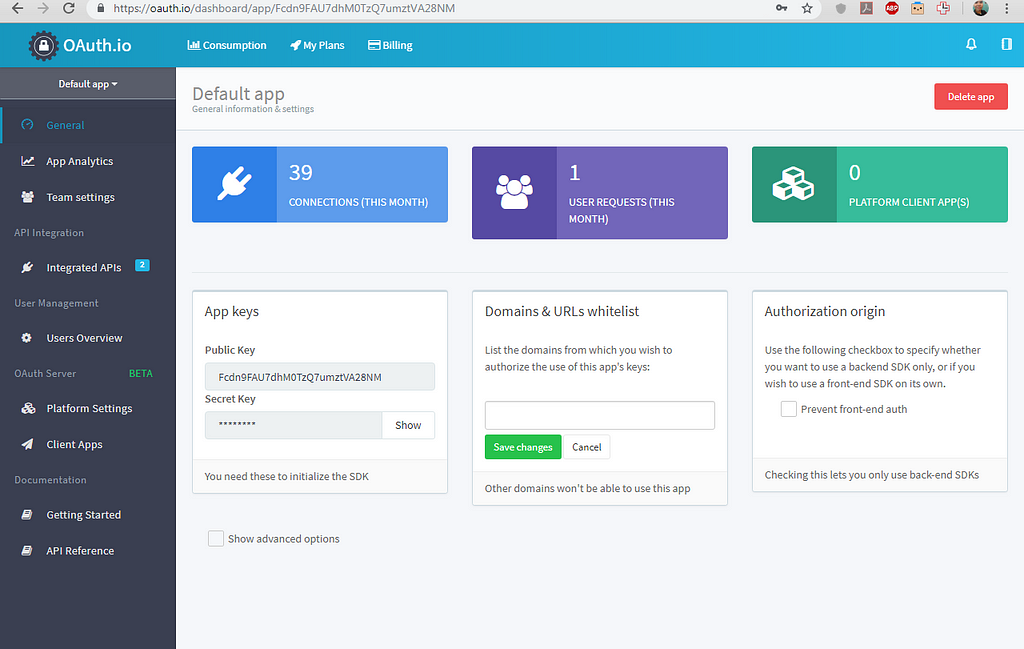
You can try any integration but set up the Integrated API first.
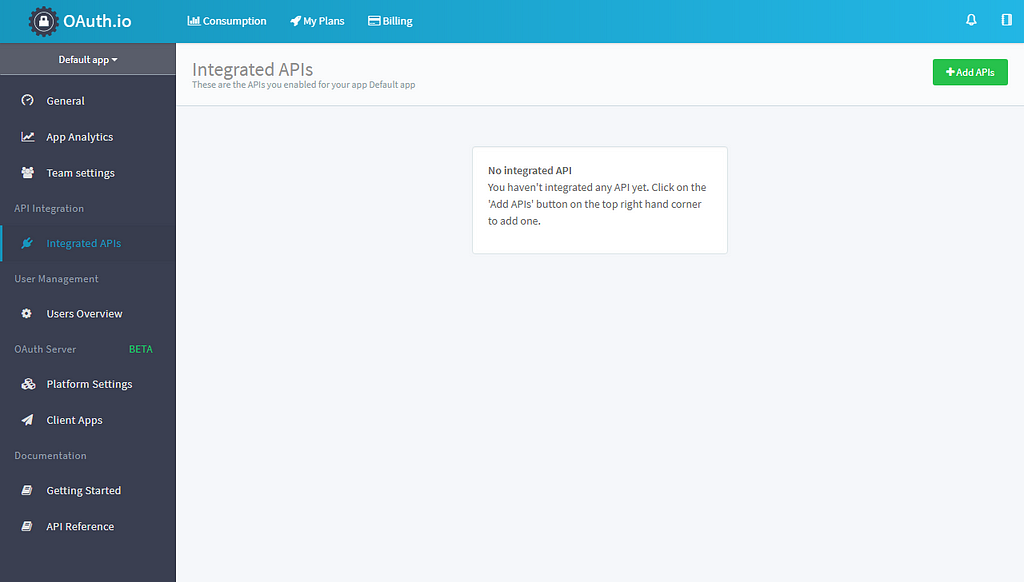
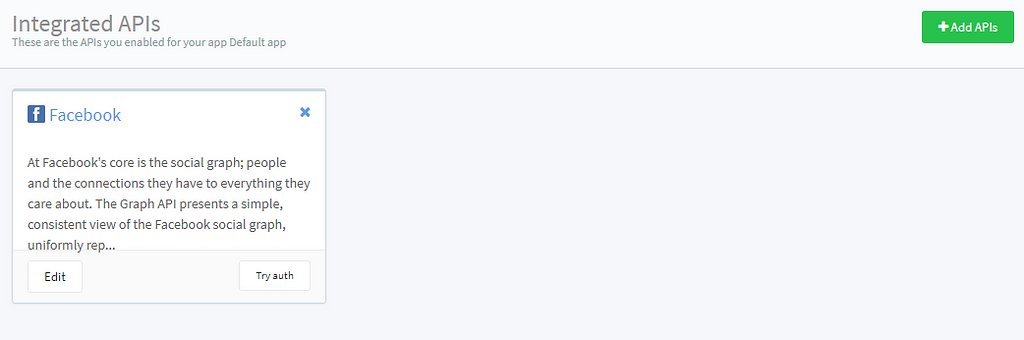
Add API
Click on Add APIs.
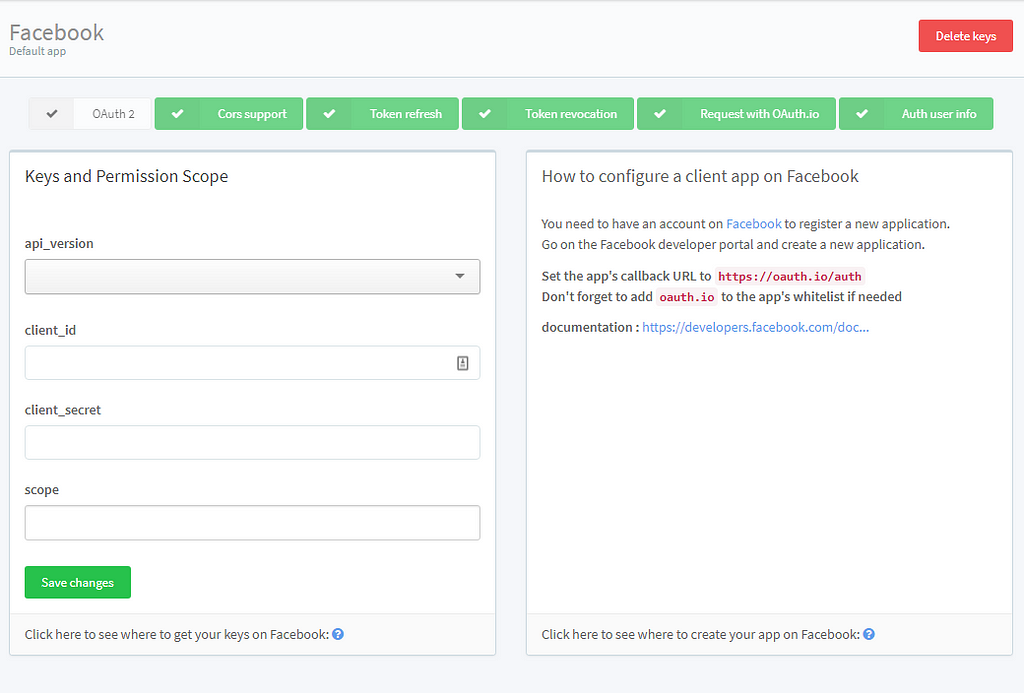
Select Facebook as a provider to the app.
![]()
Now, you need client_id and client_secret. So, create a Facebook app to get those credentials.
Go to https://developers.facebook.com to create an app and insert oauth.io as the domain for the app.

Add callback URI as oauth.io/auth

Put the id and secret in the form at OAuth.io.
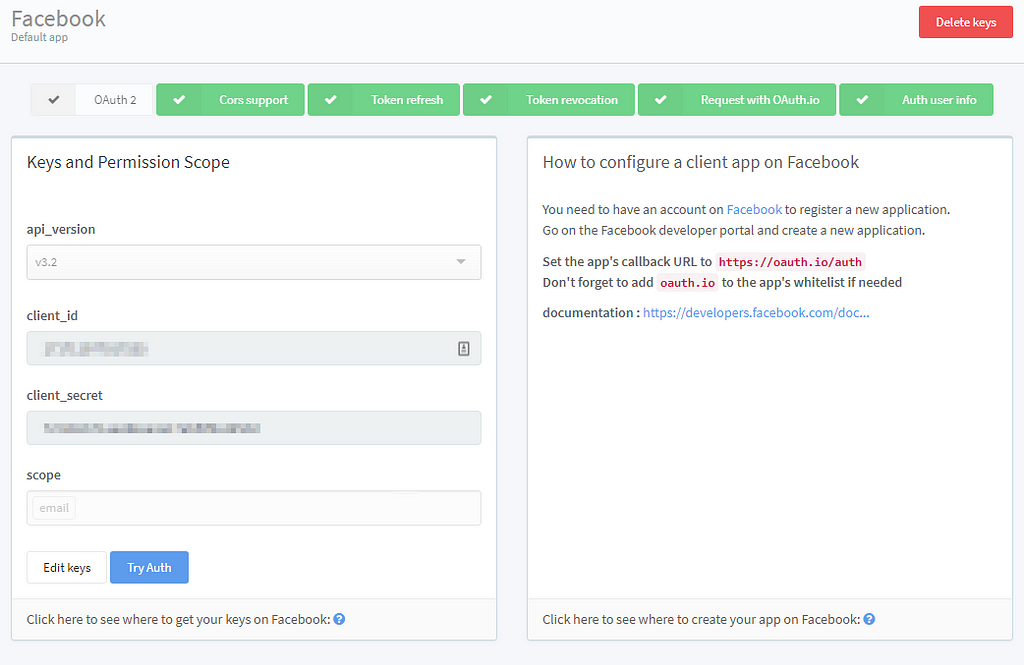
Hit save, you can also add more APIs. Let’s make use of Facebook API first.
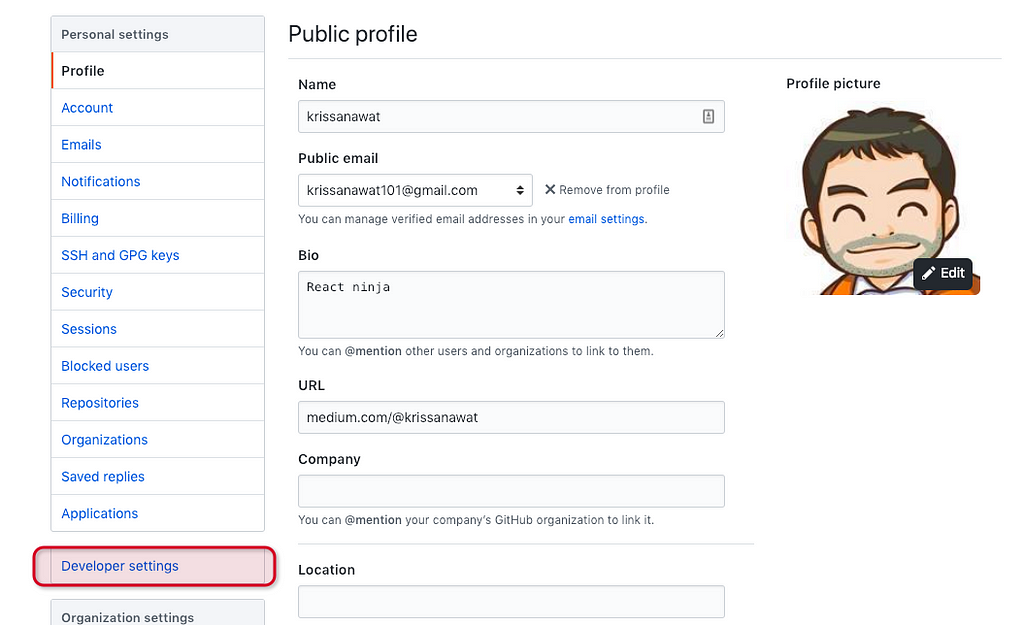
and the second service with Github
goto developer setting
create new app

fill app info
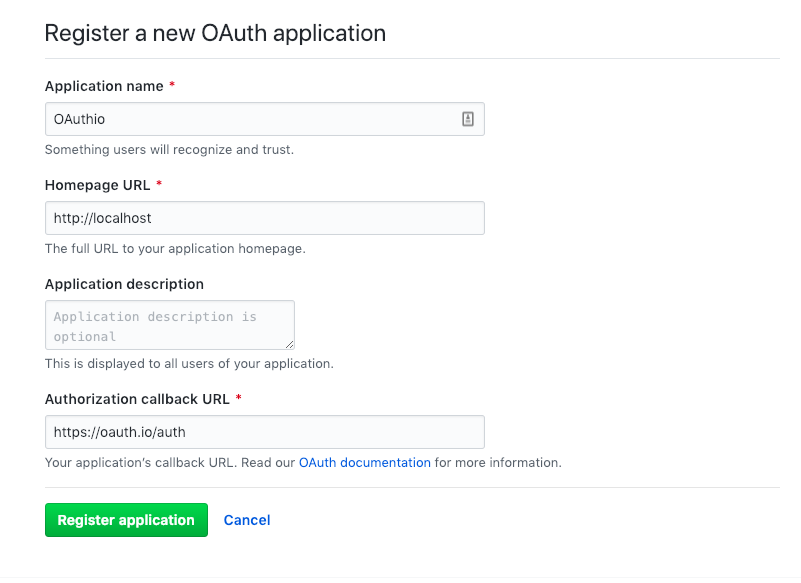
copy App_id and App_secret
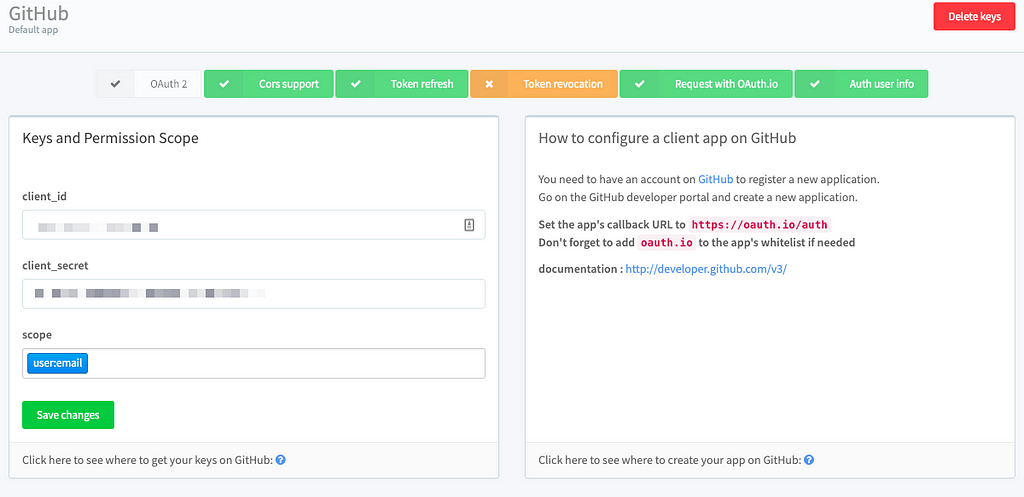
and we get two service
Create a Vue Component
Create a Vue Component to use Oauth.io SDK. Documentation for oauth.io is located at http://docs.oauth.io
For a quick demonstration, I’ll prepare a small component using Vue CLI in VS Code.
OAuth component structure
create OAuth.vue in the component folder and follow step by step
- import necessary CSS
<style>

@import "https://cdnjs.cloudflare.com/ajax/libs/twitter-bootstrap/3.4.0/css/bootstrap.css";
@import "https://cdnjs.cloudflare.com/ajax/libs/bootstrap-social/5.1.1/bootstrap-social.min.css";
@import "https://stackpath.bootstrapcdn.com/font-awesome/4.7.0/css/font-awesome.min.css";

</style>- import necessary class
<script>
import { OAuth } from "oauthio-web";
export default {

};
</script>- Create props attribute to store service name that passing with props
props: ["provider"],4.add data properties for concatenating bootstrap-social class and service name
data() {
 return {
 class1: "fa fa-" + this.provider,
 class2: "btn btn-block btn-social btn-" + this.provider
 };
},- Initialize OAuth-io SDK with initialize and add API-key from OAuth.io dashboard
created() {
 OAuth.initialize("API-Key");
}- Create an OAuth handler method
methods: {
 Auth() {
 OAuth.popup(this.provider)
 .done(res => {
 console.log(res.access\_token);
 })
 .fail(err => {
 //todo when the OAuth flow failed
 });
 }
}- Render a login button and class, event handle
<template>
 <a @click="Auth();" :class="class2">
 <span :class="class1"></span> Sign in with {{ provider }}
 </a>
</template>- Lastly, import this component in App.vue
<template>
 <div class="container">
 <h1>Social Login with OAuth.io</h1>
 <div class="row">
 <div class="col-sm-4 social-buttons"></div>
 <div class="col-md-4 col-md-offset-3 social-buttons">
 </div>
 </div>
 </div>
</template>

<script>
import OAuth from "./components/OAuth";

export default {
 name: "App",
 components: {
 OAuth
 }
};
</script>- Activate the component by placing it somewhere
<OAuth provider="facebook" />
<OAuth provider="github" />
view a live result on Codesandbox
<iframe src="https://codesandbox.io/embed/32qnq0y8vm" style="width:100%; height:500px; border:0; border-radius: 4px; overflow:hidden;" sandbox="allow-modals allow-forms allow-popups allow-scripts allow-same-origin"></iframe>
Wrapping up
That’s it for this tutorial!
We created a Vue OAuth component that renders a simple Facebook and Github login option using Oauth.io
Hope you had a good time, feel free to comment and ask anything. Show some support by clapping!


